 Azeroth DB
Rattlegore
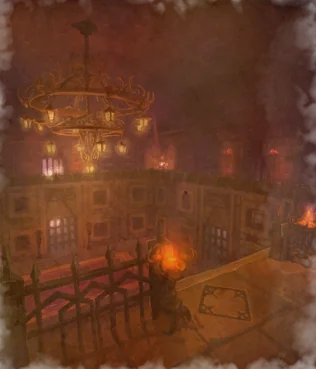
Hatchery and Great Ossuary
Cross the hatchery, then use the stairs into the ossuary instead of dropping into uncleared constructs. Clear Rattlegore's surrounding packs and patrols before pulling the boss. Take the Viewing Room Key and retrace the route to the locked classroom.

Rattlegore
Elite UndeadRattlegore combines heavy melee strikes with a close-range stun and knockback, making the tank's position and the healer's distance the main checks.
Abilities

Strike
Strikes at an enemy, inflicting increased melee damage.
Strike increases Rattlegore's melee damage. Keep the tank healthy enough to survive it alongside an ordinary swing.

Knock Away
Inflicts normal damage plus 30 to an enemy and knocks it back.
Tank with a wall behind you so Knock Away does not send you back into the ossuary's remaining packs.

War Stomp
Keep the healer and ranged attackers away from Rattlegore's close-range War Stomp so the tank's stun does not also stop healing.
 Tank
Tank- Use a cleared wall position to contain Knock Away. Keep mitigation available for Strike and the period when War Stomp prevents you from acting.
 Healer
- Heal from outside Rattlegore's close-range stomp. Keep the tank healthy before the stun, since Strike can follow while the tank cannot respond.
 Damage
- Ranged attackers should stay outside War Stomp. Melee should avoid spreading a Knock Away recovery into uncleared constructs and let the tank settle Rattlegore back at the wall.
