 Azeroth DB
Razorfen Kraul
Quests: level 26–36 · 10 players · The Barrens 42.3, 89.9
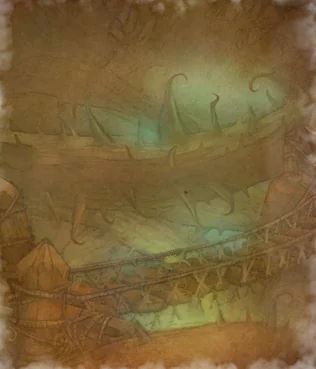
Razorfen Kraul is a Barrens dungeon for up to 10 players pursuing Charlga Razorflank's quest rewards, Roogug's Vial of Phlogiston, or the shaman Elemental Aid chain. Take Roogug's side passage before following the quilboar platforms through the boar pens to Charlga's hut. After Charlga, groups doing Willix the Importer return to the entrance with the captive instead of leaving immediately.
Preparation
Both factions: accept Blueleaf Tubers from Mebok Mizzyrix in Ratchet. Before leaving, collect the Crate With Holes, Snufflenose Command Stick and Snufflenose Owner's Manual beside Mebok. Inside the Kraul, summon the gopher with the crate and use the stick to make it search. Return the Blueleaf Tubers with the crate and stick for A Small Container of Gems.
Alliance: take Henrig Lonebrow's Journal from the corpse below the Great Lift to Falfindel Waywarder in Thalanaar, then obtain The Crone of the Kraul before entering. Loot Razorflank's Medallion from Charlga and return it to Falfindel. The reward is a Quilboar Blaster plus a choice of Berylline Pads, Stonefist Girdle or Marbled Buckler.
Horde: accept A Vengeful Fate from Auld Stonespire in Thunder Bluff before entering. Loot Razorflank's Heart from Charlga and return it to Auld. The reward is a Quilboar Blaster plus a choice of Berylline Pads, Stonefist Girdle or Marbled Buckler.
Horde: take Going, Going, Guano! from Master Apothecary Faranell in the Undercity. Collect Kraul Guano from the bats beyond Ramtusk and return it to Faranell; a run that leaves before the bat caves misses this objective.
Alliance warriors: advance Furen Longbeard's armor quests in Stormwind until Fire Hardened Mail is in your quest log. Include Roogug's side passage and loot the Vial of Phlogiston before returning to the main route. The vial is part of the armor materials, so killing Charlga alone does not finish this errand.
Horde warriors: advance Thun'grim Firegaze's armor quests in the Barrens until Brutal Armor is in your quest log. Loot the Vial of Phlogiston from Roogug and retain it with the other armor materials for Thun'grim; do not skip the side passage on a Charlga run.
Horde shamans doing Elemental Aid: defeat Charlga and collect the Tattered Note. Bring it to Rau Cliffrunner in Thousand Needles to continue the shaman quest chain.
Alliance shamans doing Elemental Aid: defeat Charlga and collect the Tattered Note. Bring it to Veyric Thunderhame in Arathi Highlands; this version does not turn in at Rau Cliffrunner.
Alliance: plan to speak to Heralath Fallowbrook near Charlga's area for Mortality Wanes. Recover Treshala's Pendant from the quilboar and take it to Treshala Fallowbrook in Darnassus. Choose Mourning Shawl, Lancer Boots or Sentinel's Boots as the reward.
Both factions: Willix the Importer offers an escort inside the Kraul near Charlga's area. Finish the boss route before starting it, then stay with Willix on the return to the entrance. Wait for the escort to complete and turn it in before crossing the exit portal. Choose Monkey Ring, Snake Hoop, Tiger Band or Boar Signet as the reward.
Horde: check Charlga's loot for the Small Scroll and use it to start An Unholy Alliance. Deliver the scroll to Varimathras in the Undercity after the run; the later assignment near Razorfen Downs is outside this dungeon.


Roogug's side passage
Take Roogug's branch before committing to the deeper platforms, especially when a warrior needs the Vial of Phlogiston. Clear the approach so the Stone Rumbler and Death's Head Seer can be handled without a second caster pull. Return to the main path after looting Roogug.
Creatures
- Razorfen GeomancerElite Humanoid
Razorfen Geomancers combine Lightning Bolt with a Stone Rumbler summon. A caster pull can leave an elemental attacking the healer even after the Geomancer stops casting.

Lightning Bolt
Blasts an enemy with lightning, inflicting Nature damage.
Interrupt Lightning Bolt and bring the Geomancer into the cleared passage.

Summon Earth Rumbler
Summons 1 Stone Rumbler to accompany the caster until dismissed.
Collect the summoned Stone Rumbler before healing draws it away from the pull.
- Death's Head SeerElite Humanoid
The Death's Head Seer accompanying Roogug can sustain the pull with a Healing Ward while a Lava Spout Totem damages players nearby. Finish or control the Seer before concentrating on Roogug.

Healing Ward
Summons a ward that lasts 30 seconds. and periodically heals allies in an area around it.
Destroy the Healing Ward instead of allowing it to restore Roogug and the elemental.

Lava Spout Totem
Destroy the Lava Spout Totem and move away from its fire while it remains active.
- Stone RumblerElite Elemental
Stone Rumblers are the elementals summoned beside these casters. Keep an uncontrolled Rumbler on the tank while the group removes the Seer or Geomancer; do not let it follow the healer into the next pack.
- Razorfen TotemicElite Humanoid
Razorfen Totemics can root the group beside enemies that their Healing Ward keeps alive. Remove the wards before advancing through the brambles.

Earthgrab Totem
Summons an Earthgrab Totem that lasts 30 seconds. and periodically immobilizes nearby enemies.
Destroy the Earthgrab Totem to stop repeated roots before moving the pull.
Healing Ward
Summons a ward that lasts 30 seconds. and periodically heals allies in an area around it.
Assign a damage dealer to destroy the Healing Ward as it appears.
Roogug
Elite HumanoidRoogug tests control of the Stone Rumbler and ward-dropping Seer while Lightning Bolt continues from the boss.
Abilities
Lightning Bolt
Blasts an enemy with lightning, inflicting Nature damage.
Interrupt Lightning Bolt while the group handles the Seer and Stone Rumbler.
Summon Earth Rumbler
Summons 1 Stone Rumbler to accompany the caster until dismissed.
Keep the summoned Stone Rumbler controlled or tanked while the Seer is removed.
 Tank
Tank- Collect Roogug and the Stone Rumbler in the cleared side passage. Keep Lightning Bolt interrupted while damage dealers remove the Seer and its wards.
 Healer
- Heal from the cleared approach rather than beside the Seer's Lava Spout Totem. If the Stone Rumbler reaches you, bring it toward the tank instead of retreating into another Geomancer.
 Damage
- Finish or control the Death's Head Seer first and destroy its Healing Ward. Keep an uncontrolled Stone Rumbler off the healer before switching fully to Roogug. Warriors should loot the Vial of Phlogiston before backtracking.
Thorncurse and Jargba's platforms
Follow the main path to Aggem Thorncurse, then Death Speaker Jargba. At Jargba, identify the Death's Head Acolyte and Razorfen Groundshaker before the pull. Stop the Acolyte's Mana Burn while keeping the healer outside the Groundshaker's nearby stun.
Creatures
- Boar SpiritElite Beast
Aggem's summoned Boar Spirits can reach the healer while the tank holds Aggem. Switch damage to the spirit rather than leaving the healer to run around the platform.
- Death's Head AcolyteElite Humanoid
Jargba's Death's Head Acolyte drains the healer's mana and can heal allies with Renew. Remove the Acolyte before extending the fight against Jargba's mind control.

Mana Burn
Interrupt Mana Burn before it consumes mana and damages its target.

Renew
Remove Renew with an offensive magic dispel when available.
- Razorfen GroundshakerElite Humanoid
Jargba's Razorfen Groundshaker can stun nearby players and interrupt a spell school with Earth Shock. Pull it away from the healer instead of fighting the whole pack on top of the group.
Ground Tremor
Stuns nearby enemies, rendering them unable to move or attack for 2 seconds.
Keep the healer outside Ground Tremor's nearby stun; stunned melee still need healing.

Earth Shock
Control or finish the Groundshaker to stop Earth Shock from locking a caster's spell school.
Aggem Thorncurse
<Death's Head Prophet>Elite HumanoidAggem's Boar Spirits divert damage from the boss while Chain Heal can undo progress on nearby enemies.
Abilities

Summon Boar Spirit
Summons 1 Boar Spirit to aid the caster in battle for 4 minutes.
Switch to each summoned Boar Spirit before it can keep attacking the healer.

Chain Heal
Infuses a wounded ally with healing energy that spreads to another nearby ally. The spell affects up to 3 targets, but the healing energy is diminished by 50% for each successive target.
Interrupt Chain Heal so Aggem cannot restore the pull while the group handles a spirit.

Battle Shout
Battle Shout increases melee pressure from the pull; finish the spirits instead of leaving them attacking throughout the fight.
- Tank
- Hold Aggem while damage dealers switch to the Boar Spirit. Collect a spirit that reaches the healer without dragging Aggem into the next platform's enemies.
- Healer
- If a Boar Spirit targets you, move toward the tank and damage dealers so they can remove it. Watch for Battle Shout increasing the melee pressure while Aggem and a spirit are both active.
- Damage
- Assign an interrupt to Chain Heal. Retarget summoned Boar Spirits immediately, then return to Aggem rather than splitting damage between a surviving spirit and the boss.
Death Speaker Jargba
<Death's Head Captain>Elite HumanoidJargba's Dominate Mind can remove a group member while the accompanying Acolyte burns mana and Groundshaker stuns nearby players.
Abilities

Dominate Mind
Interrupt Dominate Mind; if it lands, use an offensive magic dispel to release the controlled player when available.

Shadow Bolt
Hurls a bolt of dark magic at an enemy, inflicting Shadow damage.
Interrupt Shadow Bolt when doing so will not leave Dominate Mind unanswered.
- Tank
- Hold Jargba and the Groundshaker away from the healer while damage dealers finish the Acolyte. Keep Jargba within reach for Dominate Mind interrupts even while the companion is being killed.
- Healer
- Stay outside the Groundshaker's Ground Tremor and watch which player Dominate Mind controls. Remove the control with a magic dispel if your class can; do not move into the Groundshaker to reach a controlled melee player.
- Damage
- Kill the Death's Head Acolyte first and interrupt Mana Burn, then finish the Groundshaker. Keep a separate interrupt ready for Jargba's Dominate Mind instead of spending every interrupt on Shadow Bolt.
Ramtusk's platform
Continue to Overlord Ramtusk and his Razorfen Spearhide guards. Decide which guards will be controlled before pulling; an uncontrolled guard's spinning attack reaches nearby melee as well as the tank. Fight on the cleared platform rather than advancing toward the caves with the guards still active.
Creatures
- Razorfen SpearhideElite Humanoid
Ramtusk's Razorfen Spearhides punish sustained melee with Whirling Barrage and Thorns Aura. Control a guard or focus the guards down before committing to Ramtusk.

Whirling Barrage
Inflicts normal damage plus 50 to nearby enemies.
Melee should leave the guard's reach while it is whirling; ranged players should not stand beside the guards.

Thorns Aura
Account for returned Nature damage when attacking through Thorns Aura; use ranged damage on an uncontrolled guard when melee is under pressure.
Overlord Ramtusk
Elite HumanoidRamtusk's guarded pull combines Battle Shout and Thunderclap with the Spearhides' spinning melee damage.
Abilities
Battle Shout
Control or finish the Spearhides so Battle Shout does not strengthen an active pack throughout the fight.

Thunderclap
Ranged players should remain outside Thunderclap's nearby damage and slowing effects.
- Tank
- Keep the active Spearhides beside Ramtusk and away from the healer. Hold them through the guard kill order rather than advancing into the caves while Battle Shout strengthens the pull.
- Healer
- Stand beyond the Spearhides' Whirling Barrage and Ramtusk's Thunderclap. Recover melee players struck by the spinning guards without moving into their reach.
- Damage
- Control the Spearhides or finish them before concentrating on Ramtusk. Melee should step away while a guard is whirling rather than taking Whirling Barrage and Thorns Aura damage together.
Boar pens and bat caves
Beyond Ramtusk, clear the Death's Head Seer and Ward Guardians that keep Agathelos sealed before engaging the boar. Continue through the bat caves afterward for Kraul Guano if Going, Going, Guano! is in your quest log. Keep the healer behind the bat pull so a nearby silence does not stop recovery after a stun.
Creatures
- Ward GuardianElite Humanoid
Ward Guardians protect the sealed boar pen and can heal one another while the Seer remains active. Stop their healing rather than spreading damage across the warding group.

Healing Wave
Interrupt Healing Wave and finish the current Guardian before changing targets.
- Greater Kraul BatElite Beast
Greater Kraul Bats combine a nearby silence with a stunning attack. A healer standing beside the tank can lose spellcasting just as the tank is stunned.

Sonic Burst
Keep the healer and other casters outside the bat's nearby Sonic Burst.

Ravage
Keep healing available for Ravage's stun and avoid pulling another bat while the tank cannot act.
Agathelos the Raging
Elite BeastAgathelos combines Rushing Charge with Rampage's nearby stun, so losing melee contact and crowding the healer into the boar create different risks.
Abilities

Rushing Charge
The tank should keep Agathelos within melee reach instead of letting the boar rush across the pen for an empowered opening attack.

Rampage
Keep the healer outside Rampage's nearby damage and stun so healing remains available to the frontline.
- Tank
- Clear the Seer and Ward Guardians before engaging Agathelos. Keep melee contact and use defensive abilities before a low-health situation becomes a Rampage stun; avoid retreating across the pen and inviting Rushing Charge.
- Healer
- Heal from outside Rampage's nearby stun. Keep the tank healthy enough to survive being stunned rather than joining the melee stack beside the boar.
- Damage
- Let the tank establish control before committing damage. Avoid taking threat and running across the pen, which leaves Agathelos chasing a new target with Rushing Charge; melee should watch for Rampage pressure instead of drawing the healer closer.
Razorflank's hut
Finish the route at Charlga's hut and use the cleared ramp for the fight. Spread ranged players before pulling to limit Chain Bolt's jumps. After looting the faction quest trophy, Tattered Note or Small Scroll that your quests need, visit the captives near this area and complete Willix's escort before leaving.
Charlga Razorflank
<The Crone>Elite HumanoidCharlga's Chain Bolt punishes clustered players while Renew, Purity and Mana Spike prevent a simple race to exhaust the caster.
Abilities

Chain Bolt
Interrupt Chain Bolt and separate ranged players so a completed bolt has fewer nearby targets to jump to.
Renew
Heals the target of 205 damage over 15 seconds.
Remove Renew with an offensive magic dispel when available so Charlga does not heal through the group's damage.

Purity
Makes the caster immune to all attacks and spells for 2 seconds.
Wait for Purity's immunity to end before spending expensive attacks into Charlga.

Mana Spike
Restores the caster's mana.
Mana Spike restores Charlga's mana; continue interrupting Chain Bolt rather than waiting for the boss to run out of mana.
- Tank
- Hold Charlga on the cleared ramp below the hut and interrupt Chain Bolt. Keep the fight in that cleared space while Purity is active instead of pulling toward the captives.
- Healer
- Stand apart from the ranged damage dealers so Chain Bolt cannot easily jump through the back line. Watch the melee group after a completed bolt and conserve mana during Purity's immunity.
- Damage
- Spread ranged positions, help interrupt Chain Bolt, and remove Renew if you can dispel enemy magic. Resume expensive attacks after Purity ends, then check Charlga's loot for your faction trophy, Tattered Note or Small Scroll before leaving.
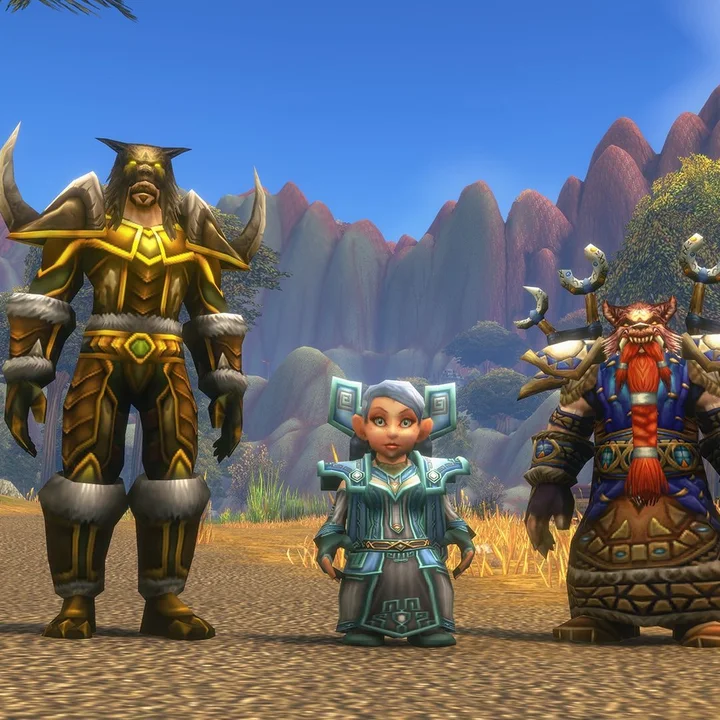 WoW Forever beta patch notes: October 1